
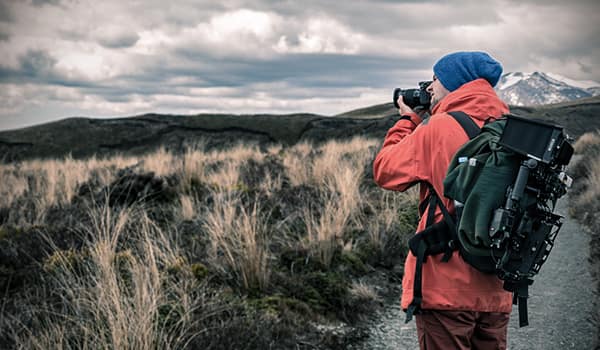
During your hike, you can encounter the most beautiful sceneries. This provides us with the opportunity to take breath-taking pictures for multiple purposes, like printing, sharing or just plain and simple saving precious memories. How important is this for you? If you are into photography like I am, it means a lot. However, when going on a hike, you want to pack as light as possible. So, what photography equipment should you bring along?
To prevent you from burdening yourself with too much weight, this post should help amateur and intermediate hiking photographers in decision making; what to bring and what to leave at home on your next hike.
Step 1: Plan your hiking trip
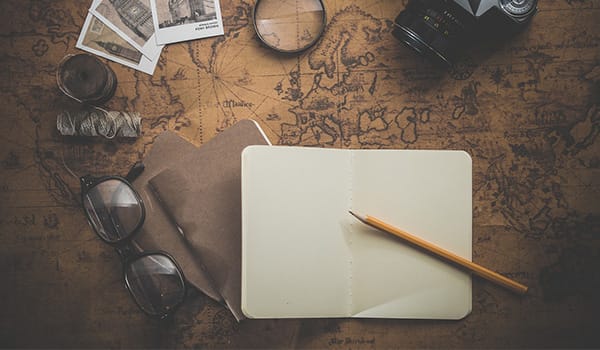
As every photographer has different wants and needs, there is not a universal recommended set-up applicable for everyone. Therefore, the first step in preparing your photography loadout is planning the kind of photography you want to do. Is it landscape photography, night photography, animal photography, or maybe a mixture of different types of Outdoor photography. Knowing what kind of photography you will be doing is going to help you in prioritizing your equipment.
Tip: If you are unsure of what you will run into, and the type of photography you want to do, try to bring a versatile lens covering multiple ranges and purposes, instead of several prime lenses, as it will be a burden to carry the extra load which you might not even use.
Besides the type of photography, it is also important to think about the hike in general. Think about the climate, circumstances you are likely going to encounter, are you going on a single-day hike, a multi-day hike, section-hiking or thru-hiking, etc.
It is less of a burden to bring extra photography equipment when you are going on a day hike in comparison to a thru-hike of several weeks.
In terms of climate, there are also things to keep in mind. For example, when hiking through cold climates, you will run out of battery life faster, meaning you are more likely to bring more batteries, or a charger if you think you will have access to power on your hike.
Tip: Keep your batteries warm in colder climates, by using insulation (e.g. pair of socks), to extend the battery life.
Tip: Bring extra zip-lock bags to protect your equipment from rain and moisture. You can also add silica gel bags to prevent moisture.
Additionally, if you are hiking with a buddy, go through the ins-and-outs of your hike together. If he or she also likes to take photos, you could potentially share equipment. If your hiking partner is not into photography, or only uses a point-and-shoot camera, maybe you can convince that person to carry something for you to share the load.
Step 2: Make a list
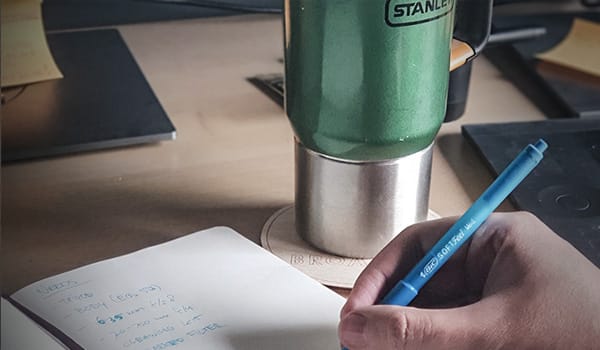
Now that you have more consciously thought about your hike and photography plans, it is time to make a list. This will help you in prioritizing your equipment and making sure you will not forget something crucial.
Write down what you NEED to bring on your hike for the photography you are planning to do. Also, write down the equipment you WANT to take with you, but is not completely necessary to bring along.
Keep in mind that you also need to bring essentials, like extra batteries, cleaning equipment, sufficient memory, etc.
Step 3: Start packing for the Hike
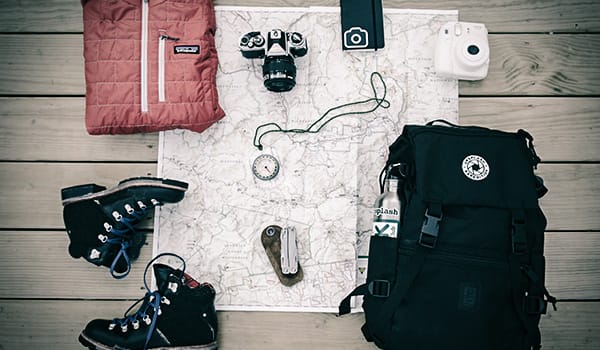
As important we might think photography is, it is not part of the essentials of hiking. Start packing your backpack as you normally would. Now you know how heavy your backpack is, and how much space you have left for the non-essentials. Again, think about the type of hike and the circumstances you are likely going to encounter (step 1) to judge how much extra weight you can still carry.
Once you know how much extra weight you are willing to carry, it is time to start packing your photography equipment. Start with the things on your NEEDS list.
There are several ways to pack your photography equipment. How you choose to pack your equipment can depend on your own preference, available accessories, and budget.
Personally, I usually have a separate bag in which I put all the equipment (excluding tripod) I need for my photography, and I make sure it is easily accessible.
Tip: Think of scenario’s in which you want to take a picture. Making your camera and equipment easily accessible will prevent you from having to turn your backpack inside out to take a picture. There are plenty of solutions on the market designed to have your camera ready for action, without it being too much of a hassle.
If you still think you can carry more weight, you can look at your WANT list. Add the things you want and can to your loadout.
Step 4: Evaluate your Hiking gear.
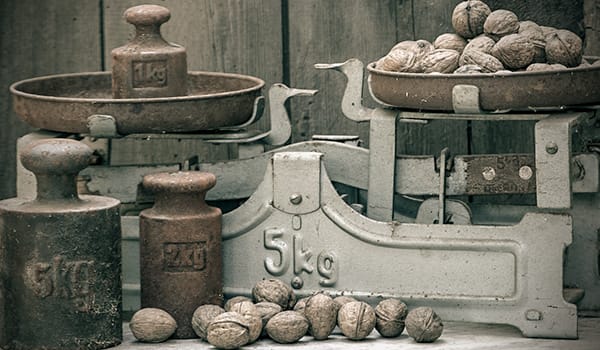
Now that you have packed everything, it is very important to evaluate. In my experience, you often overestimate your own capabilities. A backpack doesn’t feel heavy until you have to carry that load for several days.
If you are confident that you can carry your current set-up for the time you are planning to hike, then you are good to go. If you think you can even carry more stuff, and you still have photography equipment on your WANT list, feel free to pack them as well. However, be critical to your set-up. It is better to re-pack a few times than to be stuck with too much weight during a thru-hike. I can not stress enough how important evaluating your gear is.
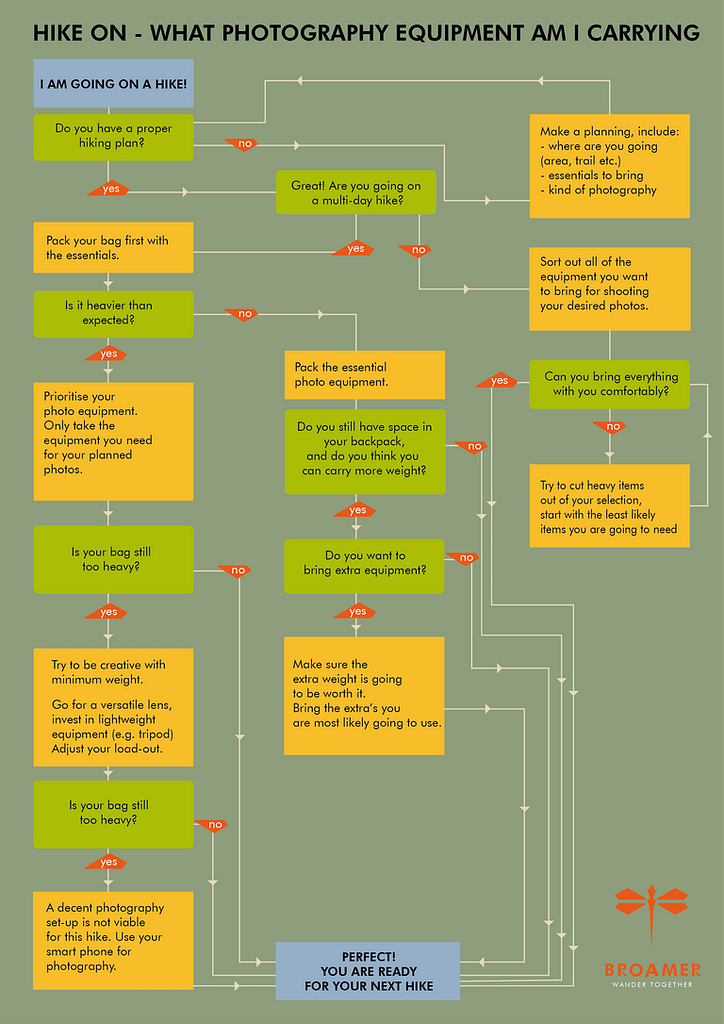
Photography is an art form, there is no wrong or right. Think about the pictures you would like to create, and focus on the equipment you really need. The longer your hike will last, the more punishing your extra weight will be, so be cautious that you do not pack too heavy if you are planning a multi-day hike. Follow the steps beforementioned, and you should be able to decide what to take with you and what to leave at home. Follow the flow-chart for future hikes. Good luck with taking beautiful pictures on your next hike!
And remember, a proper preparation prevents poor performance.
Read More: Hiking Blogs
Stefan is a design thinker, with a passion for photography and the outdoors. Just like most designers, he is a life-long learner, interested in everything that moves the world. He's driven when it comes to research, branding, writing, travel, strategy, psychology, and entrepreneurship.

